CD Tower > Pallet Nightstand
on Jul 10, 2012, Updated Mar 18, 2024
We are participant in the Amazon Services LLC Associates Program, an affiliate advertising program designed to provide a means for us to earn fees by linking to Amazon.com and affiliated sites. Please see my disclosure policy.
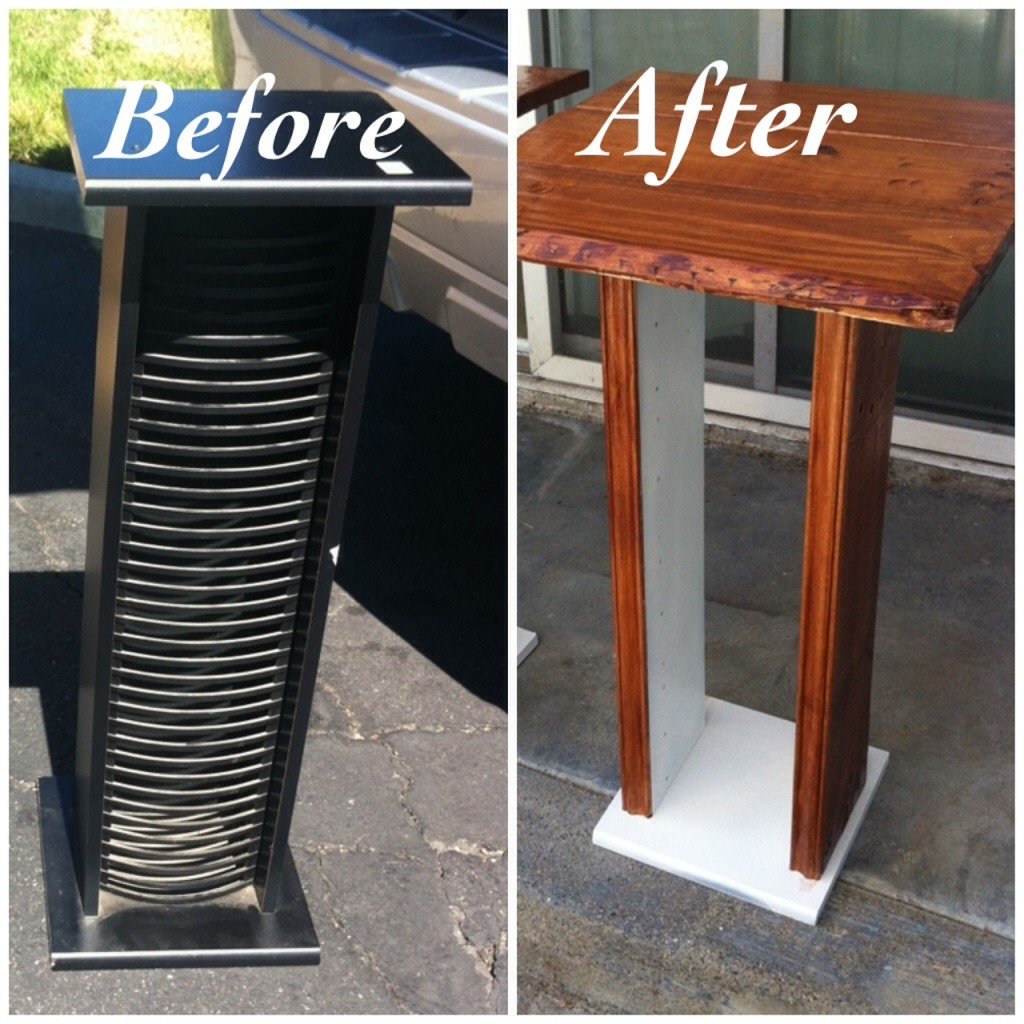
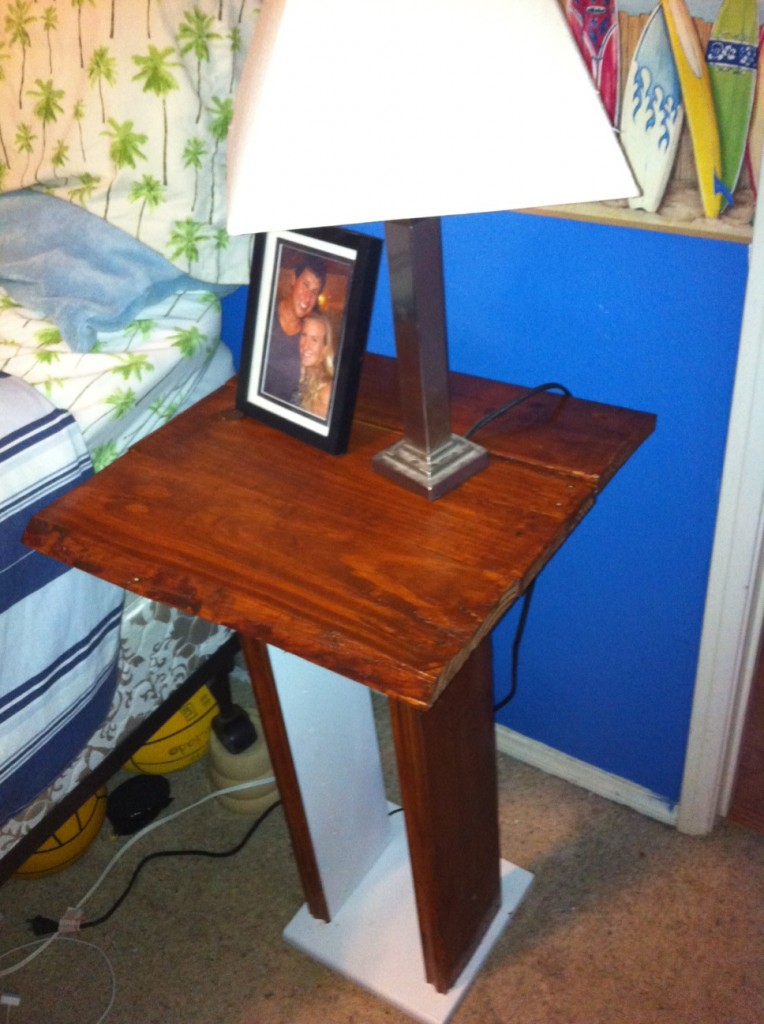
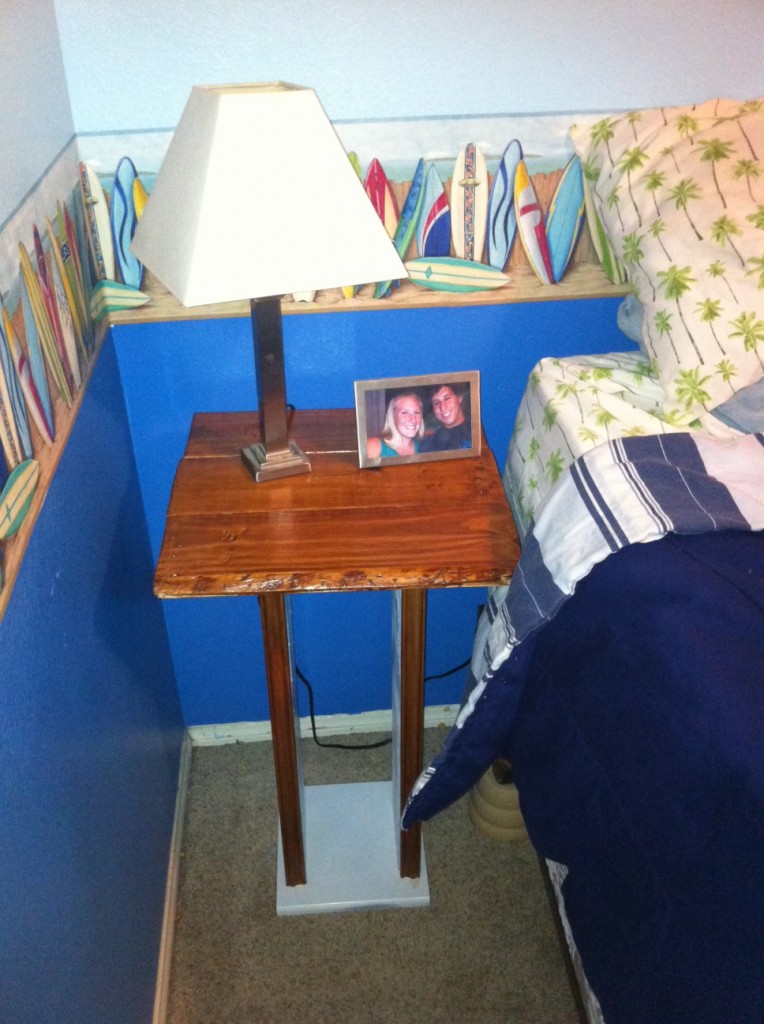
Ready for another pallet DIY?? This one stemmed from my boyfriends need of a taller nightstand for his bed, and the challenge of us making something together from start to finish!
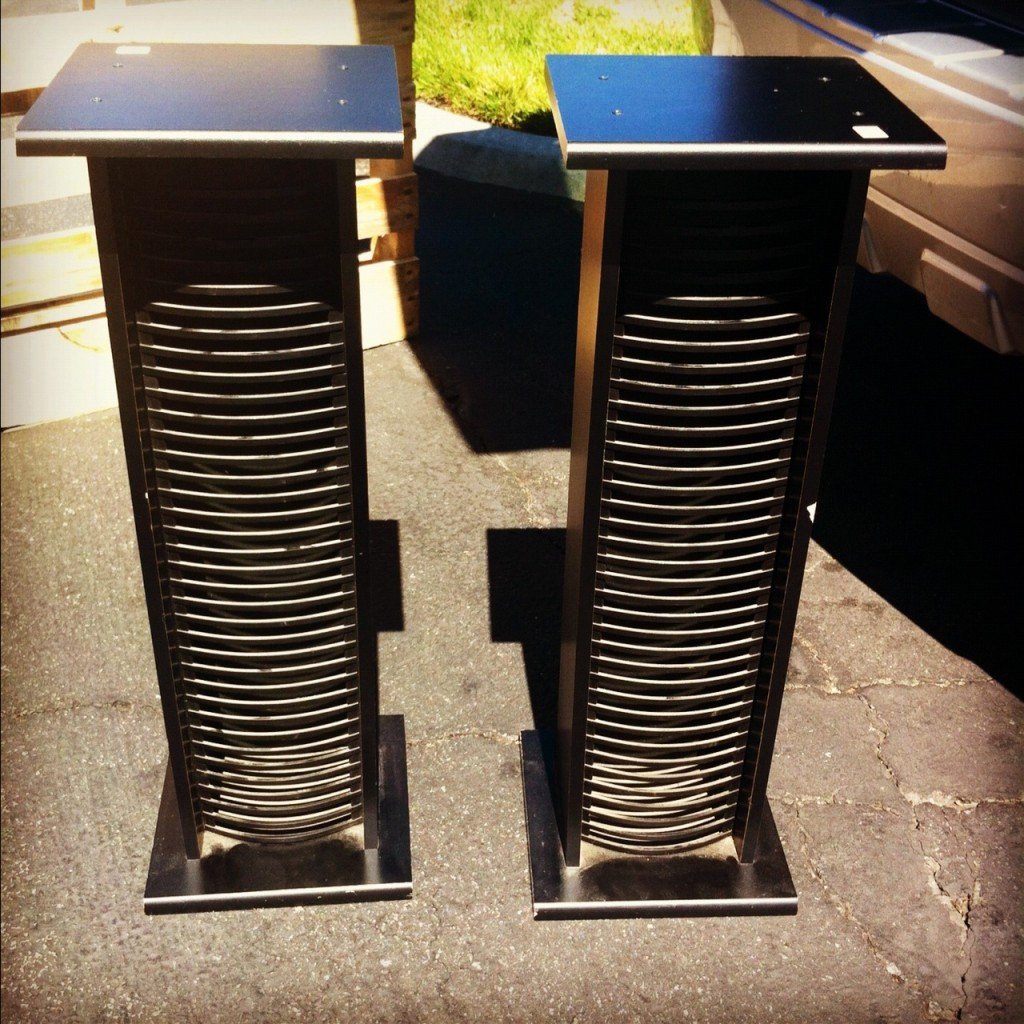
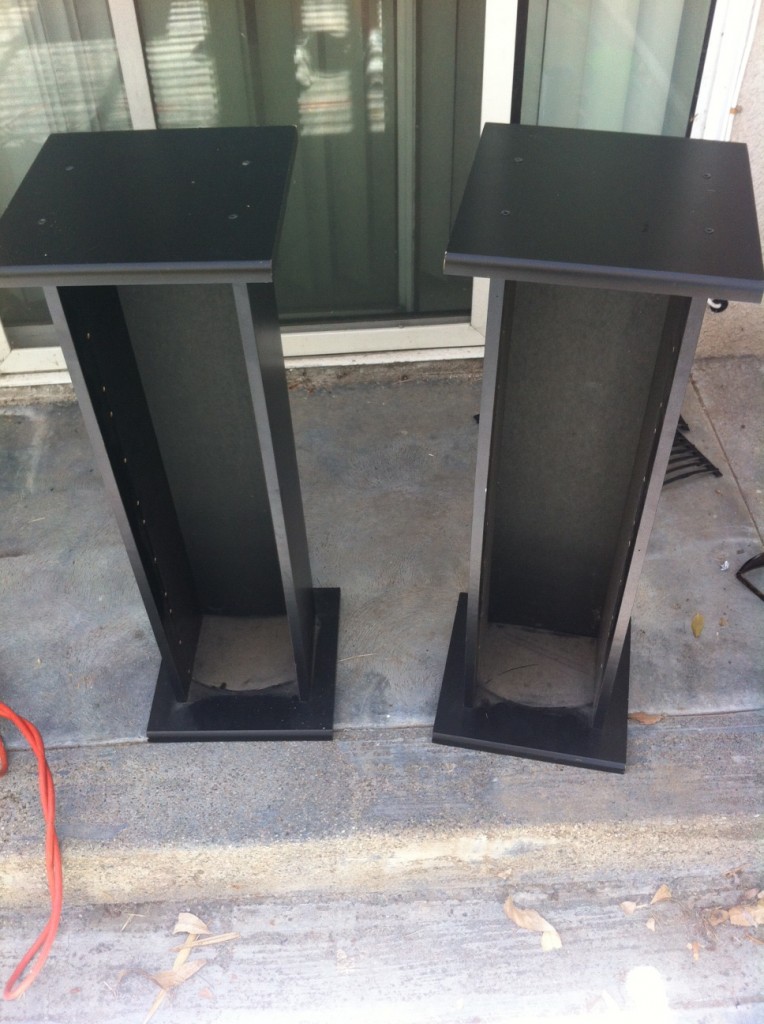
First we started our search for something that we could either makeover or add on to. We looked at Salvation Army first, then ended up finding 2 CD towers at Good Will. They were $9.99 each.
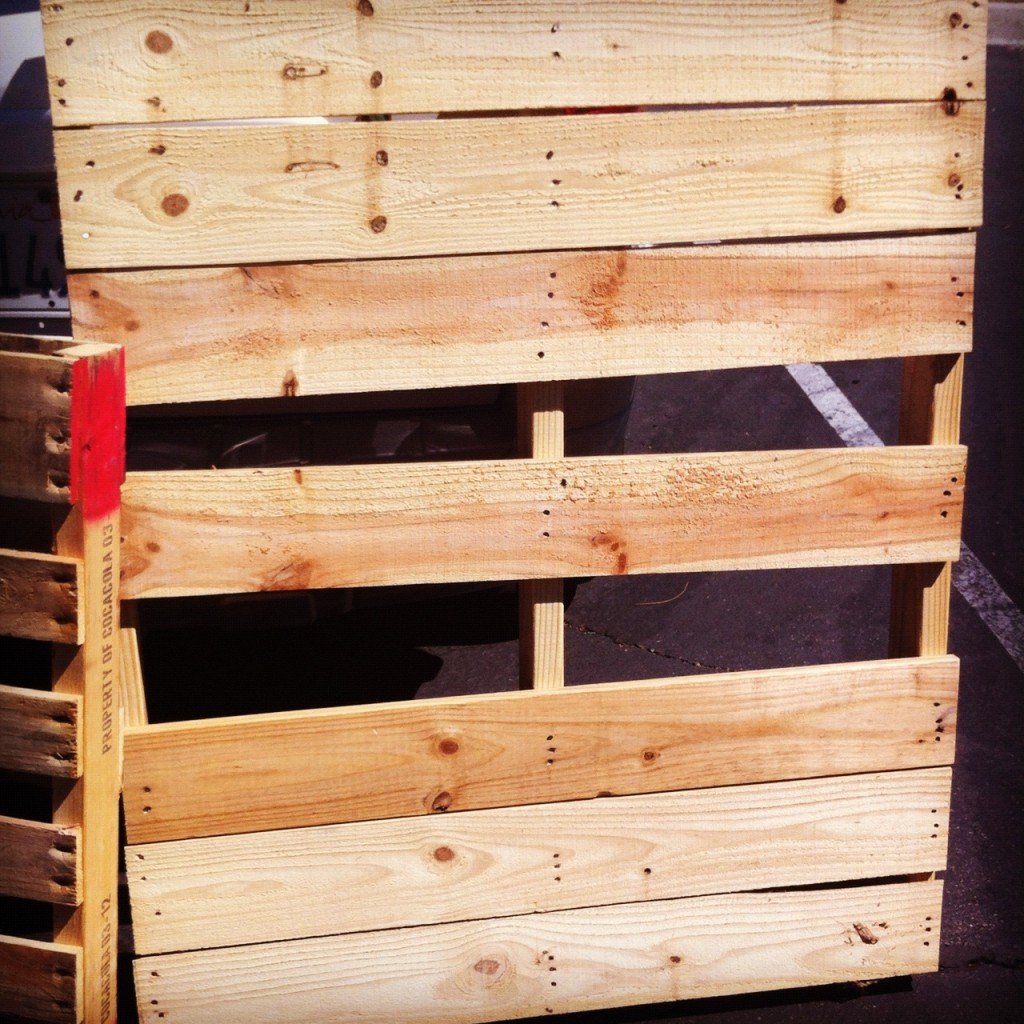
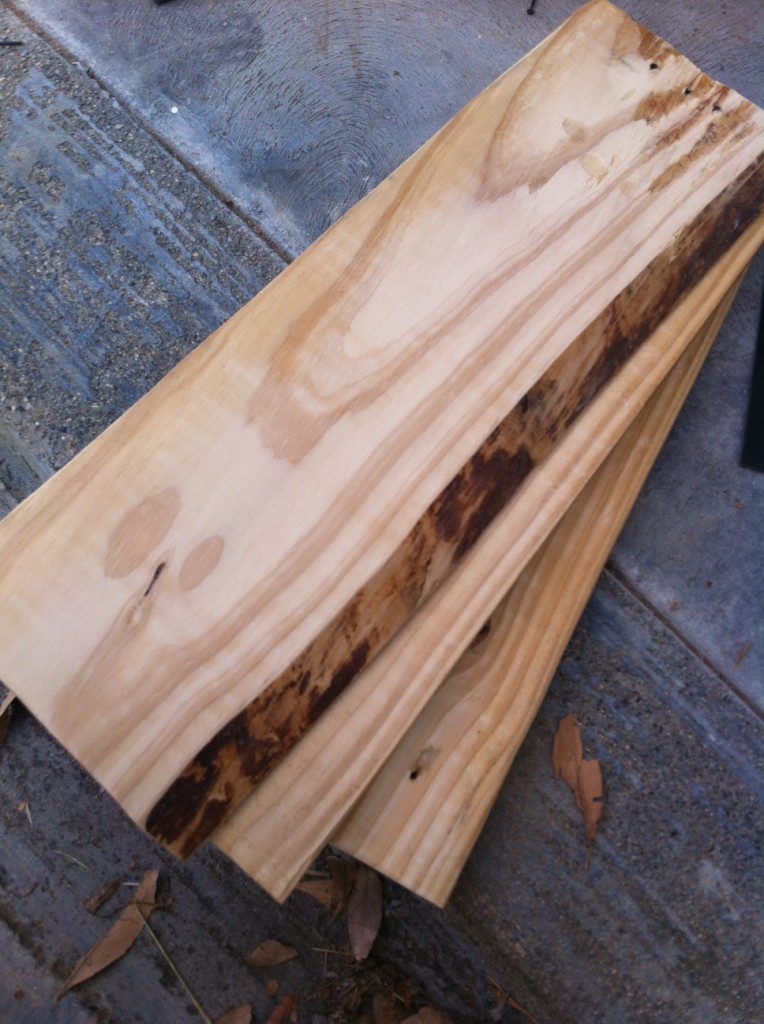
Then our search continued for a good pallet. We drove by a Ralph’s grocery store and saw a few by their loading dock. We took two, and ended up using this one:
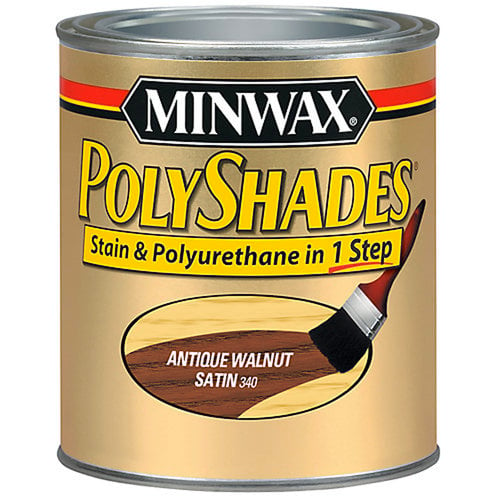
Next we headed to Home Depot to get wood stain, screws, white spray paint, gorilla glue, and wood molding. We used the Minwax, Polyshades 2 in 1 stain and seal.
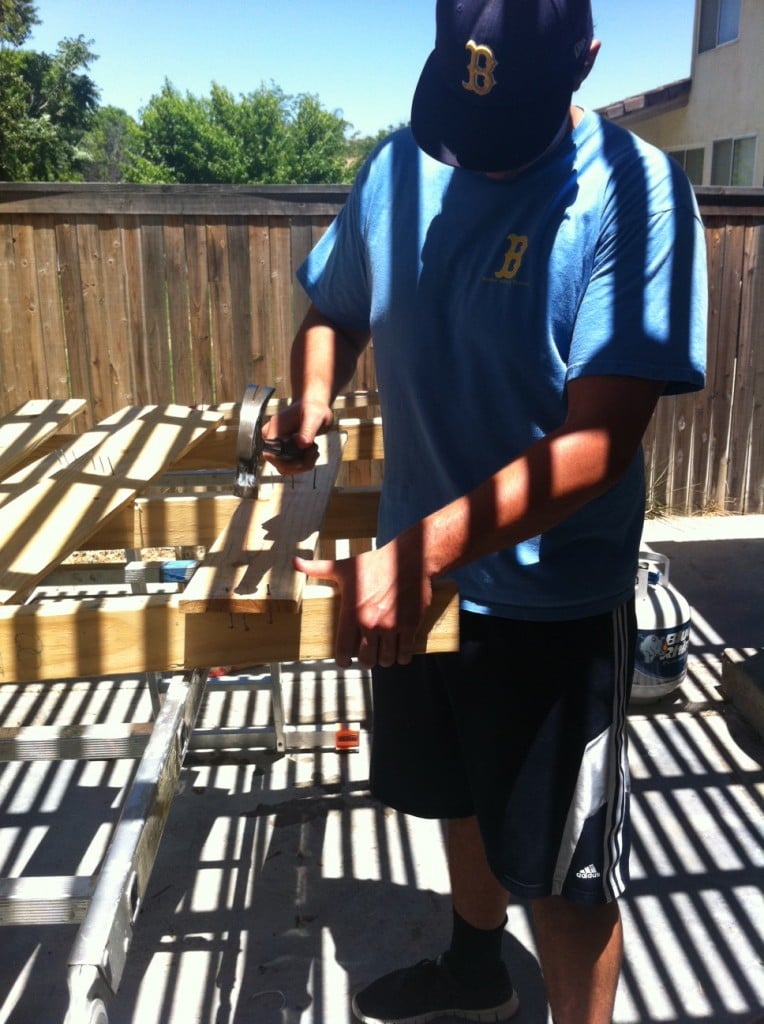
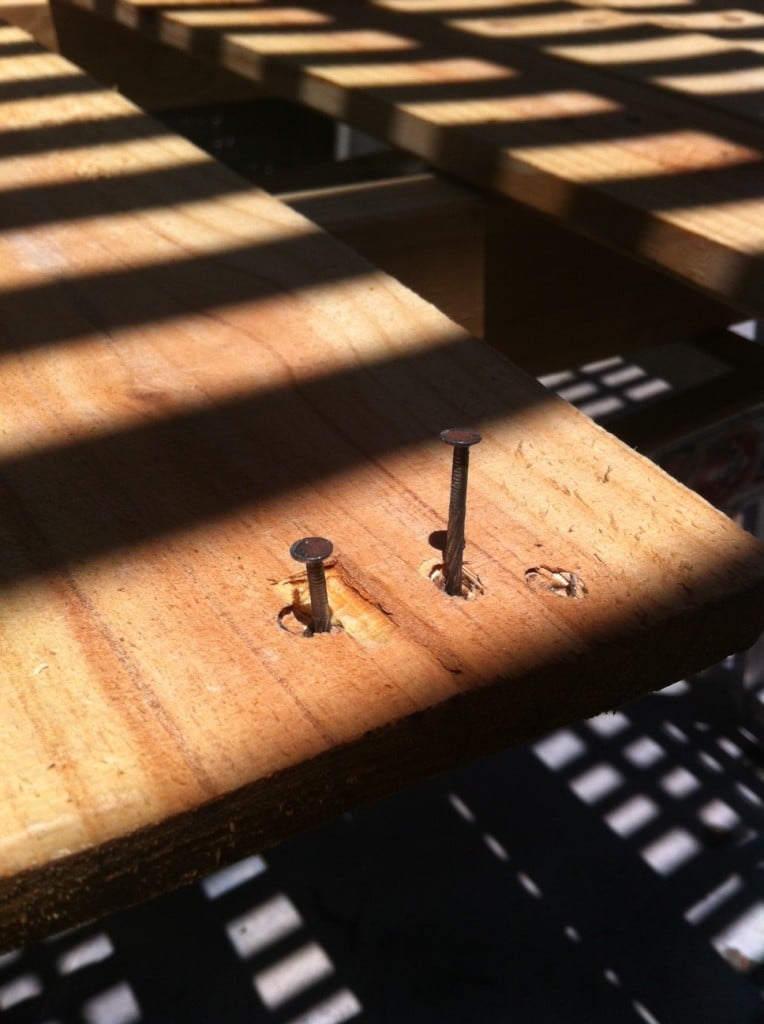
When we got home, the first step was to take apart the pallet. This is generally the hardest part in the process. It requires patience and good hammer skills. We would hit the pallet from underneath, then use the other side of the hammer to pry the nails up.
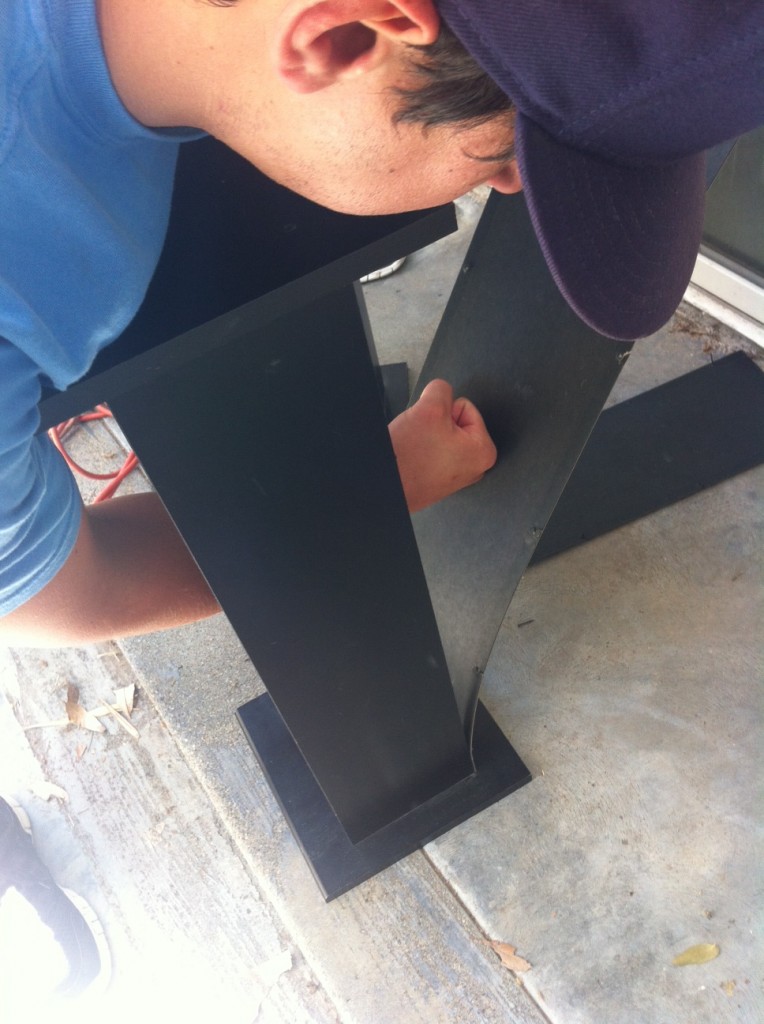
Then just pry those puppies off and you have a fresh piece of wood! Next we took off the plastic CD holders, and punched through the backing.
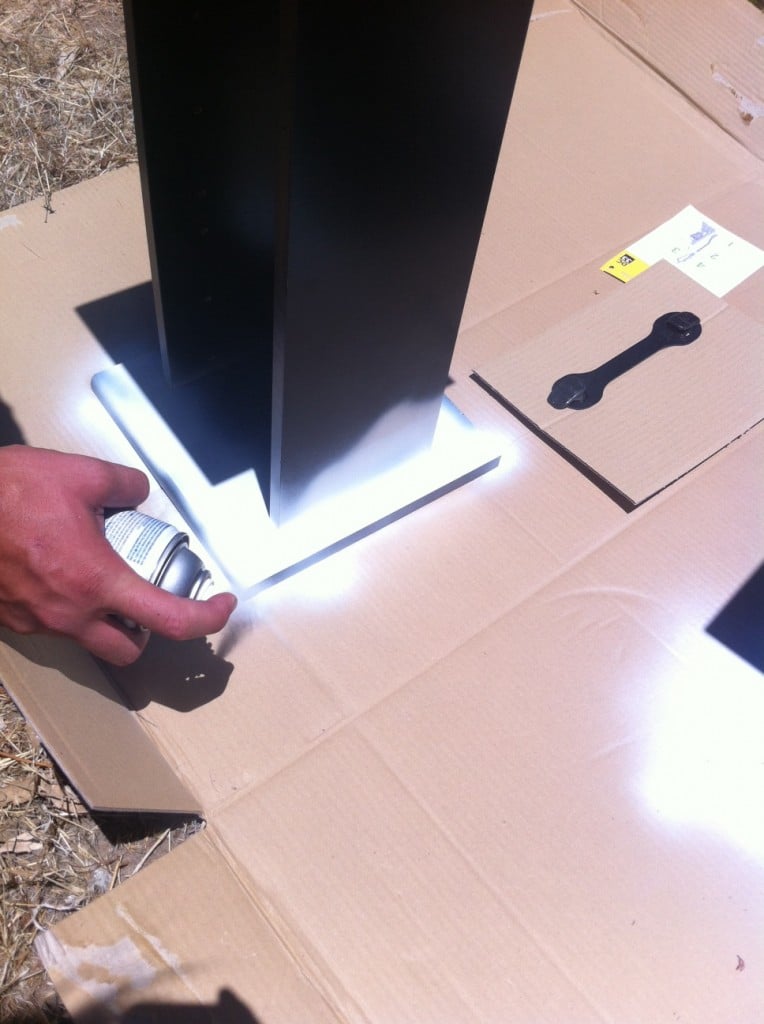
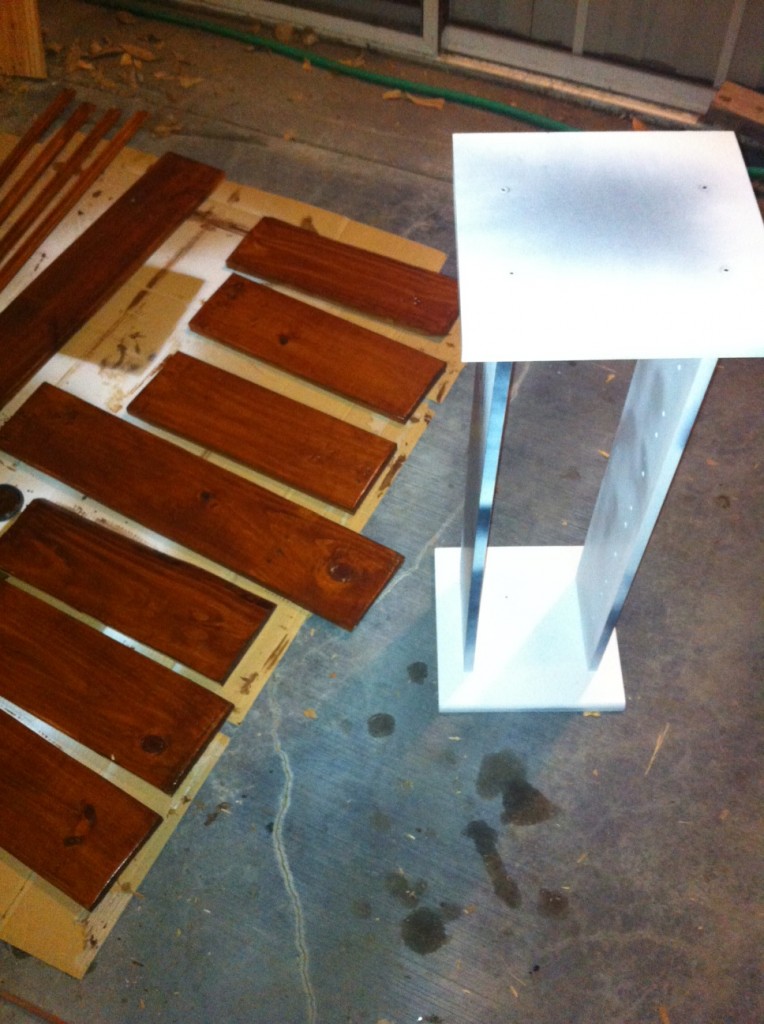
Next it was painting time. We wanted a white to go with our wood (you can use any color you like), and spray painted most of the CD tower.
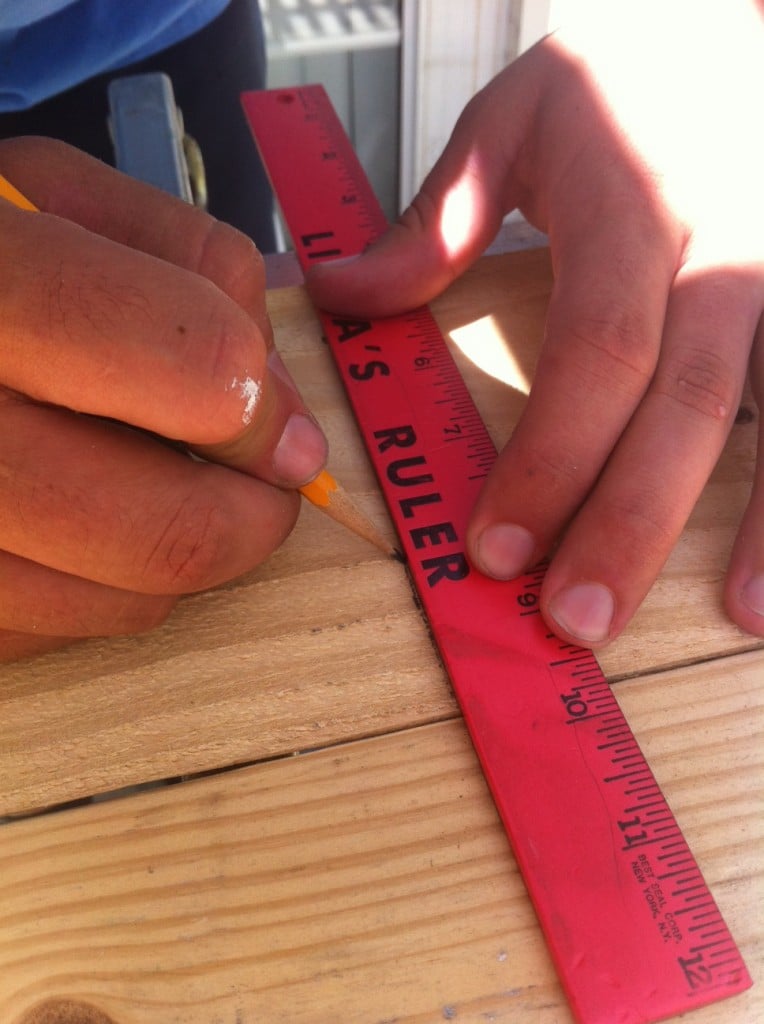
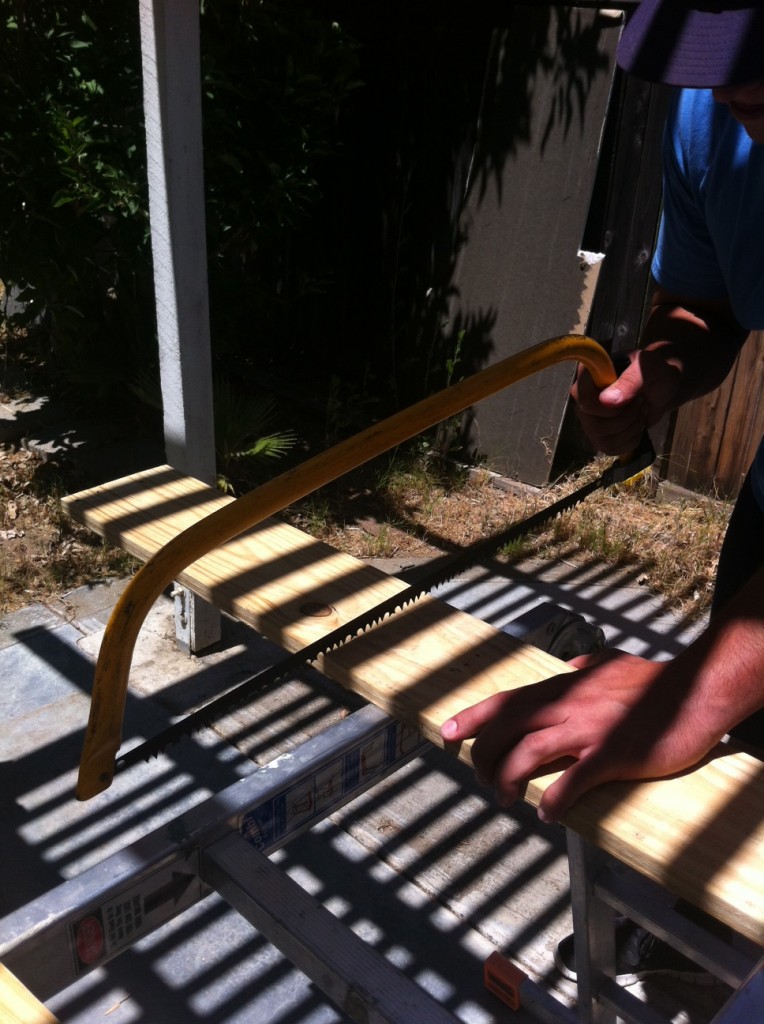
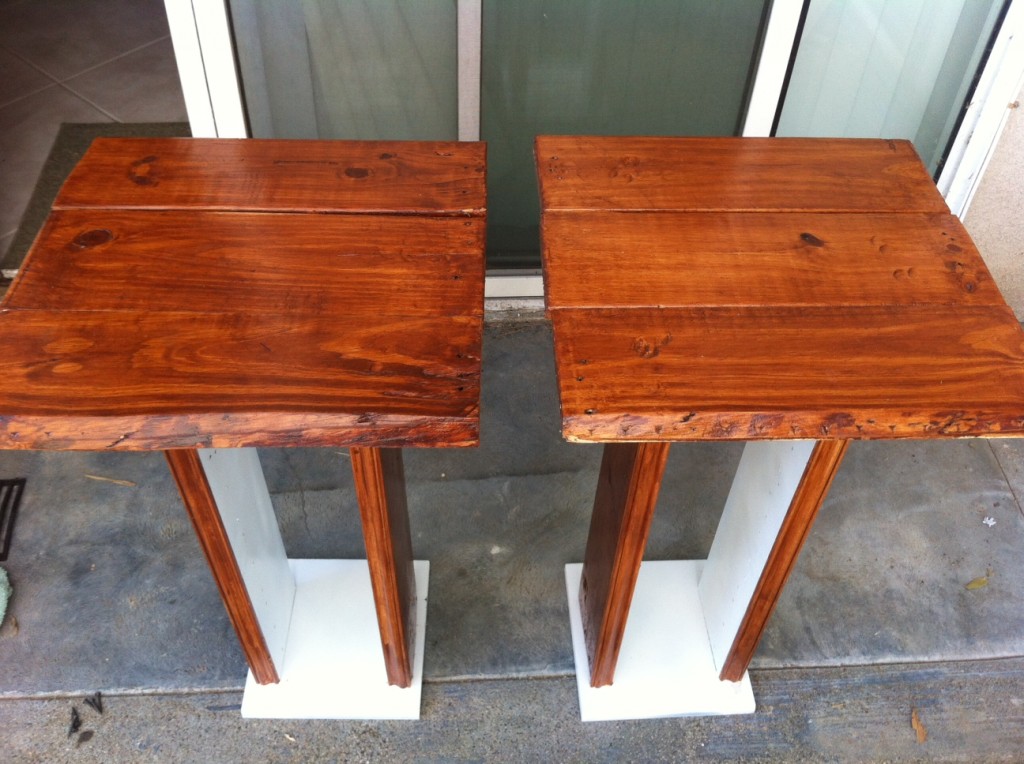
We then measured out what sizes the wood should be. We decided we wanted a square of wood on the top. To achieve that we measured 3 pallets wide, which was 16 1/2″, then cut each of them to 16 1/2″ long as well. Then each side was just as wide as the pallet wood so that was perfect. Then just had to cut the height to about 26 3/4″.
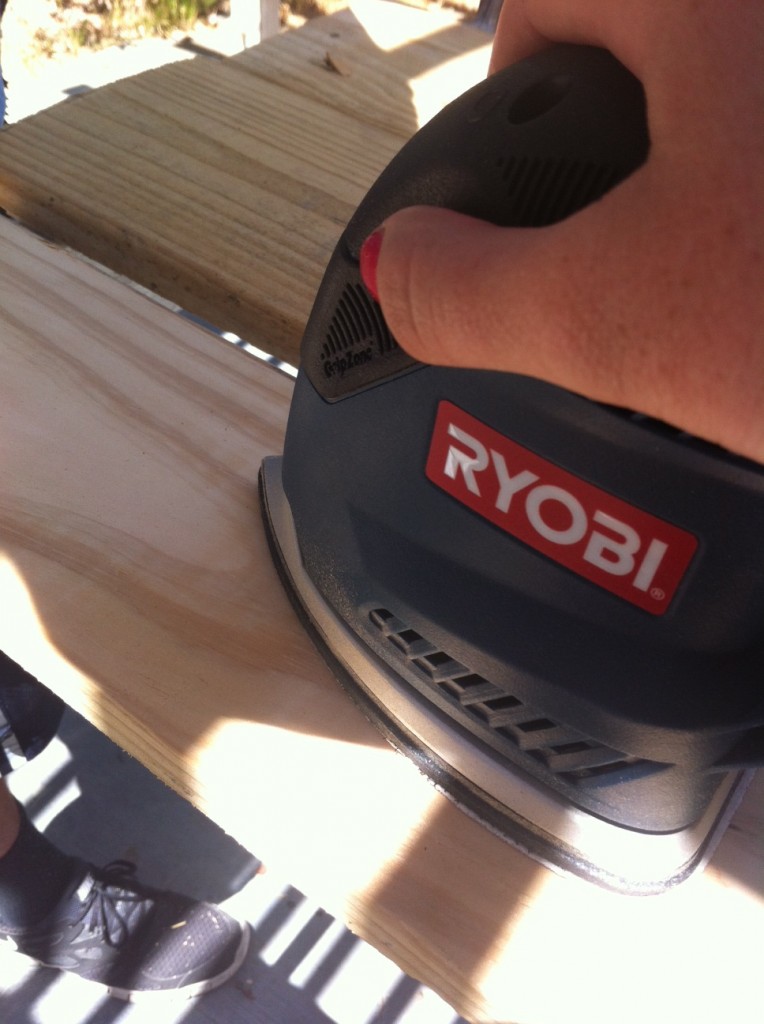
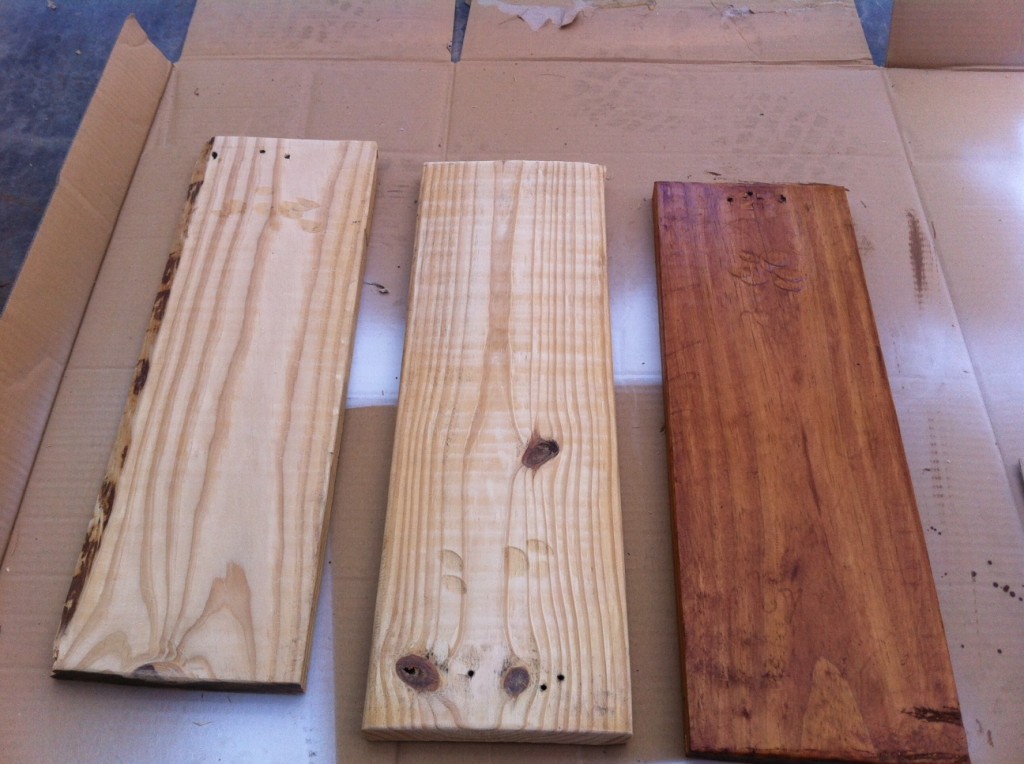
We then sanded each of those pieces until smooth.
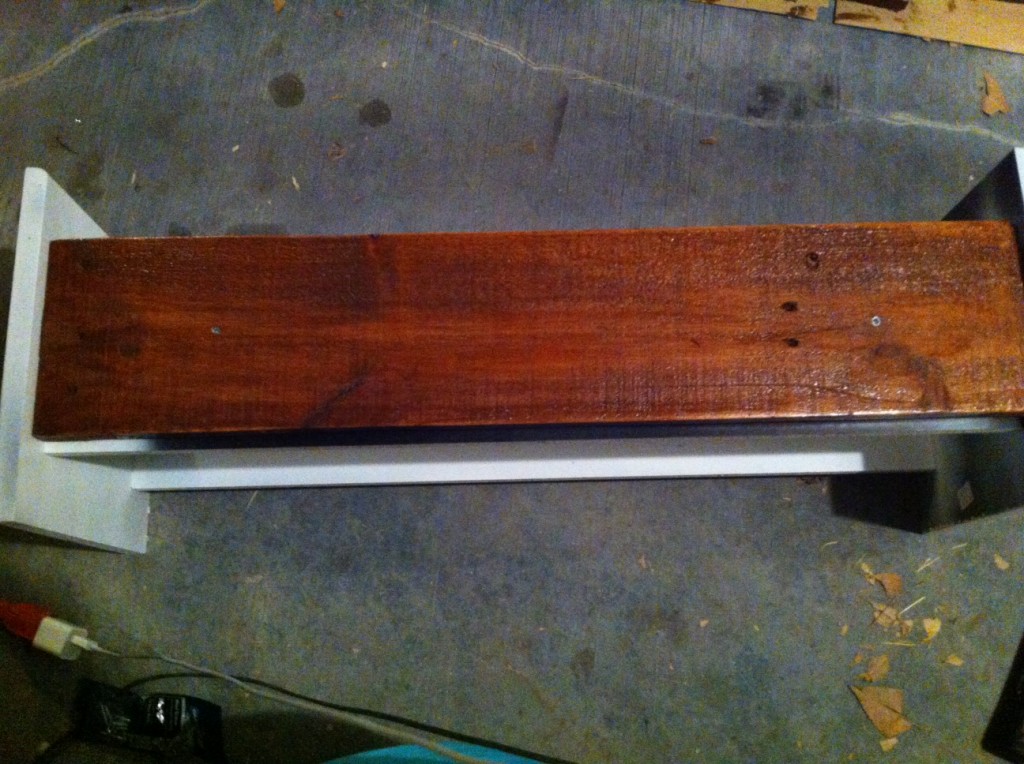
One piece of pallet wood had a great bark on it still, which we used for the front of both nightstands.
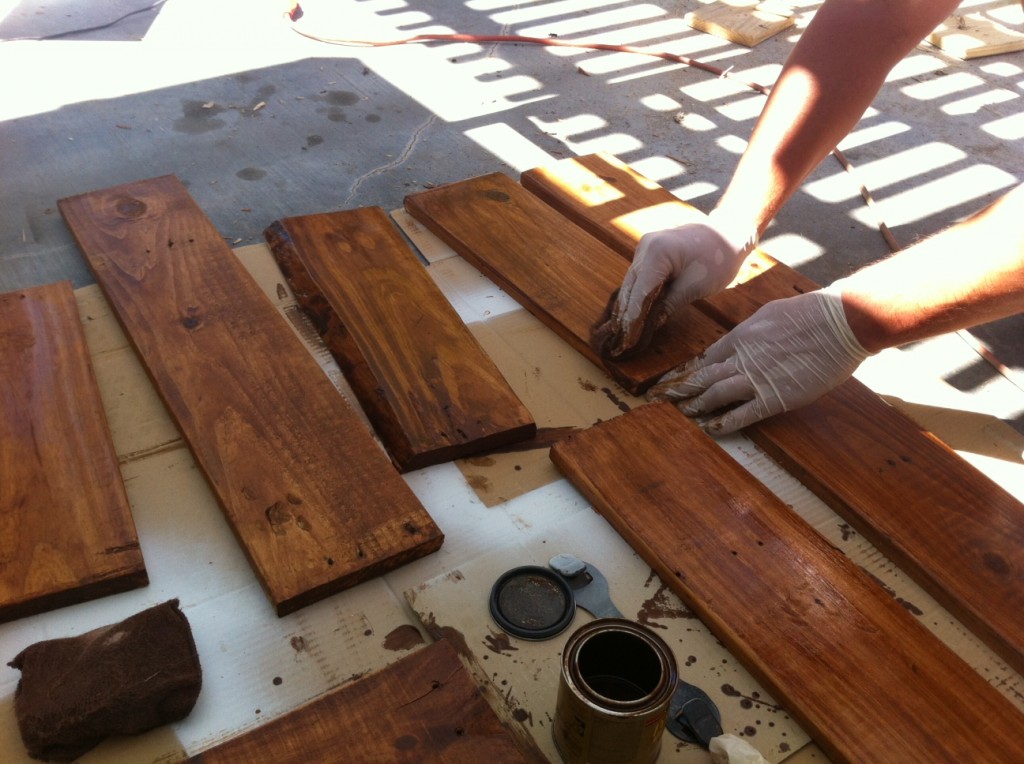
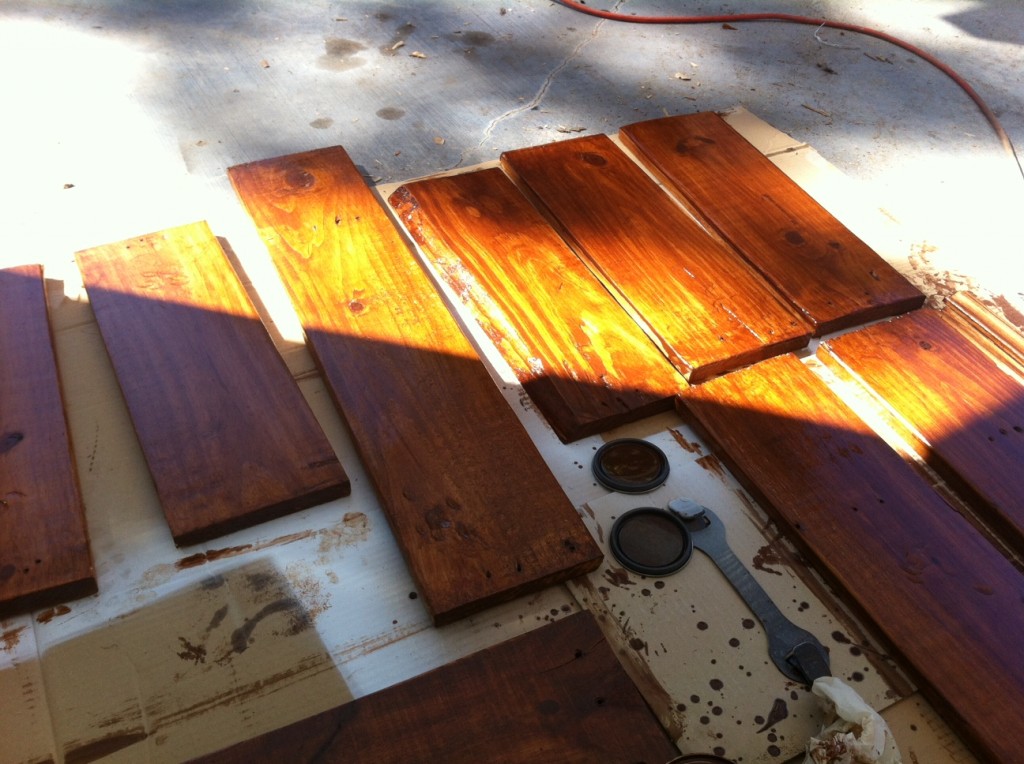
Then the fun part, staining!
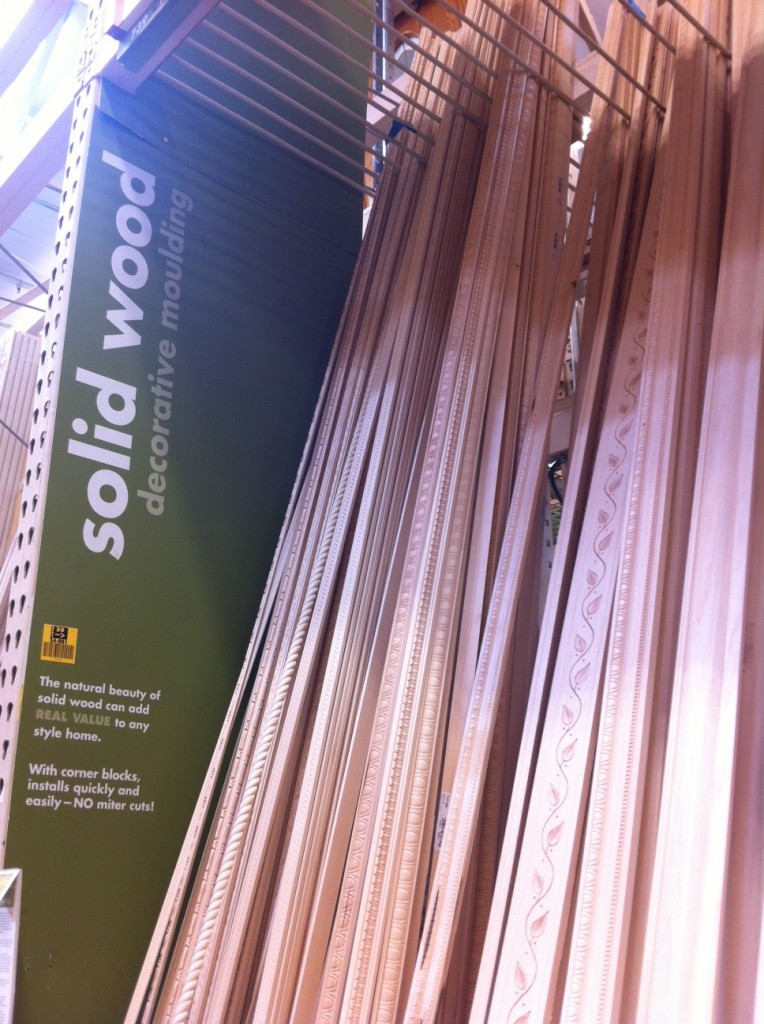
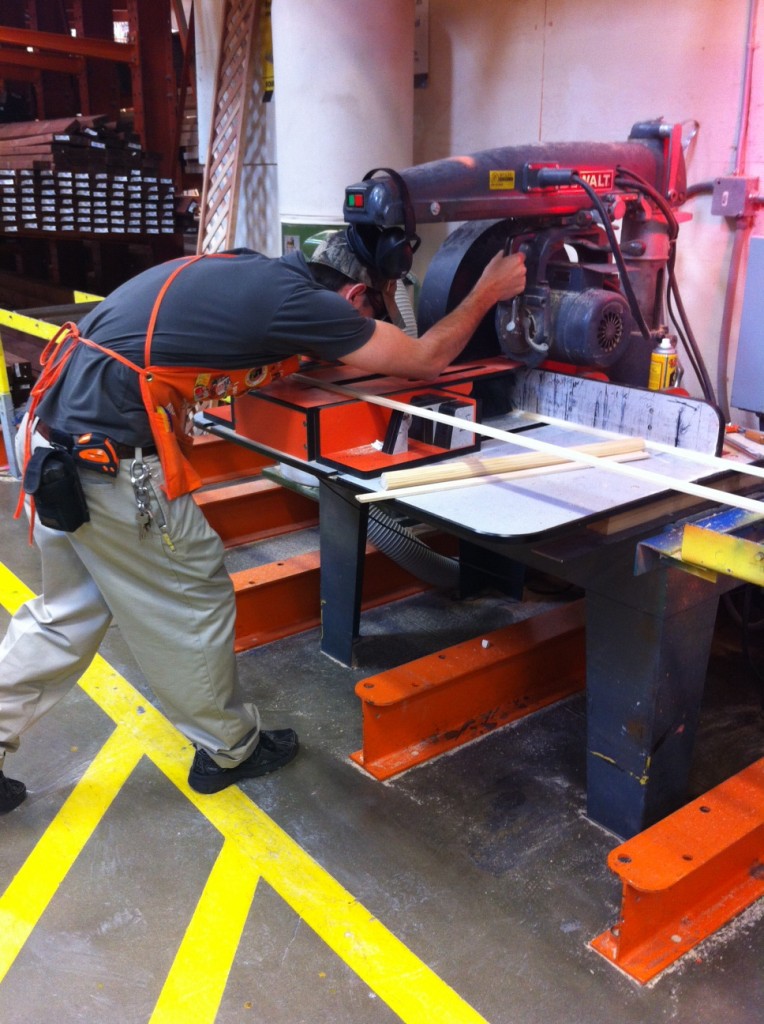
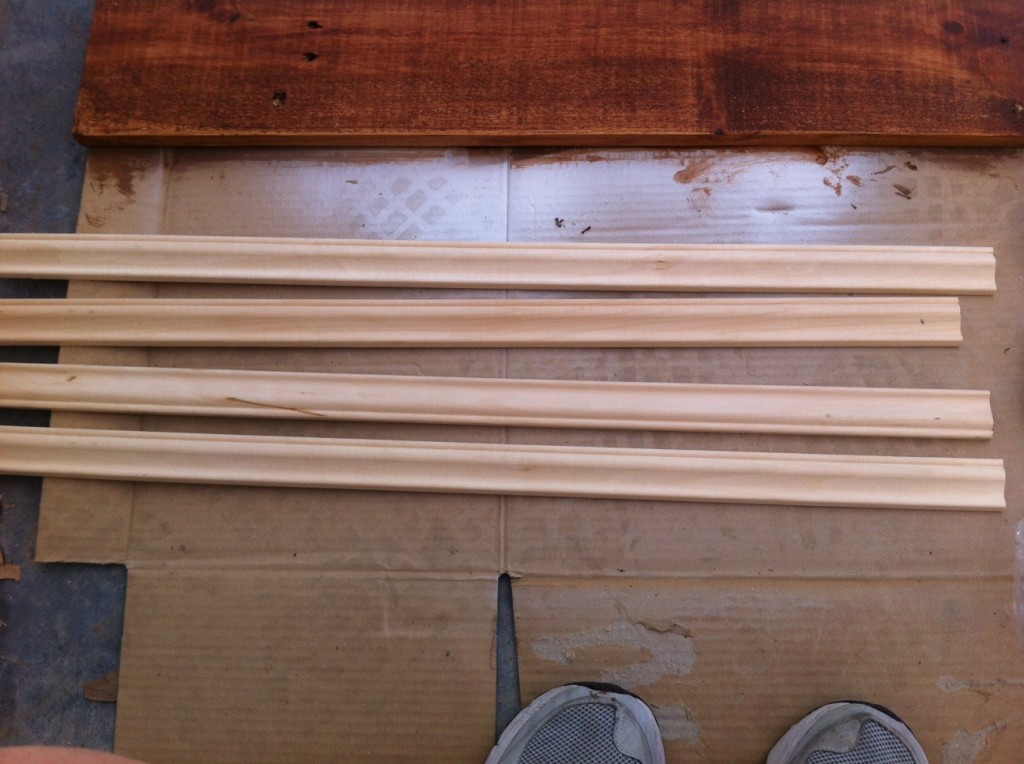
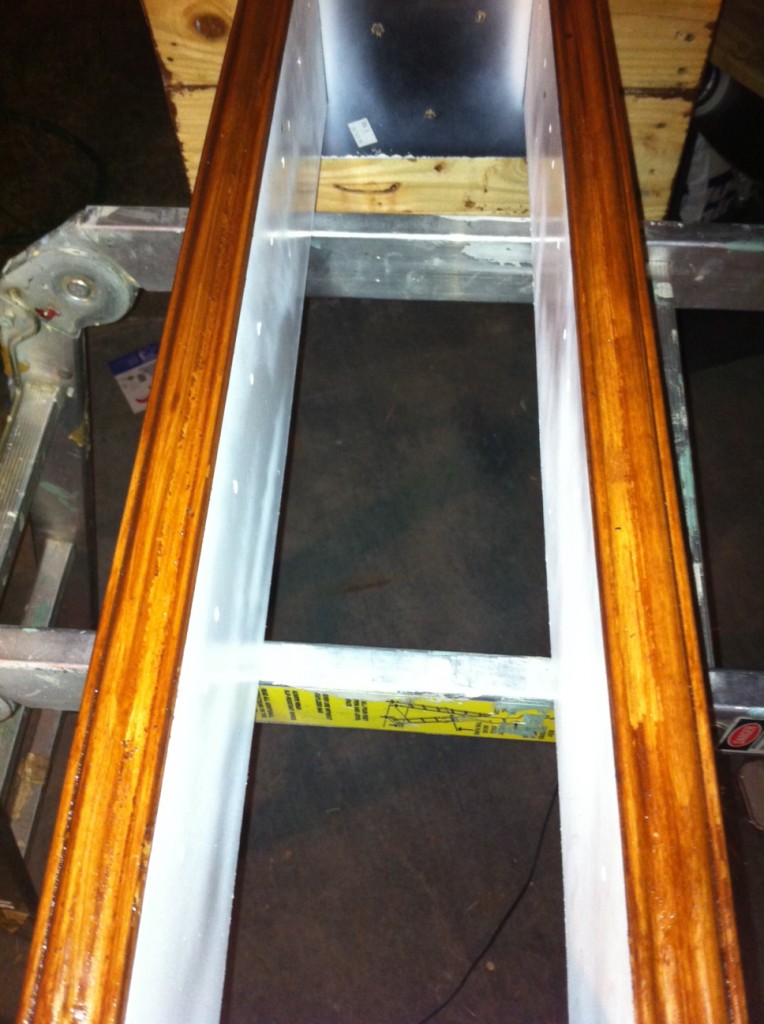
When we were at Home Depot we saw some wood molding. We knew that we would be adding wood to the existing particle board and needed something to cover the front. The width of the two together was 1 1/4″, so we found a molding we liked that was 1 1/4″ thick, and had the Home Depot peeps cut them to the size we needed.
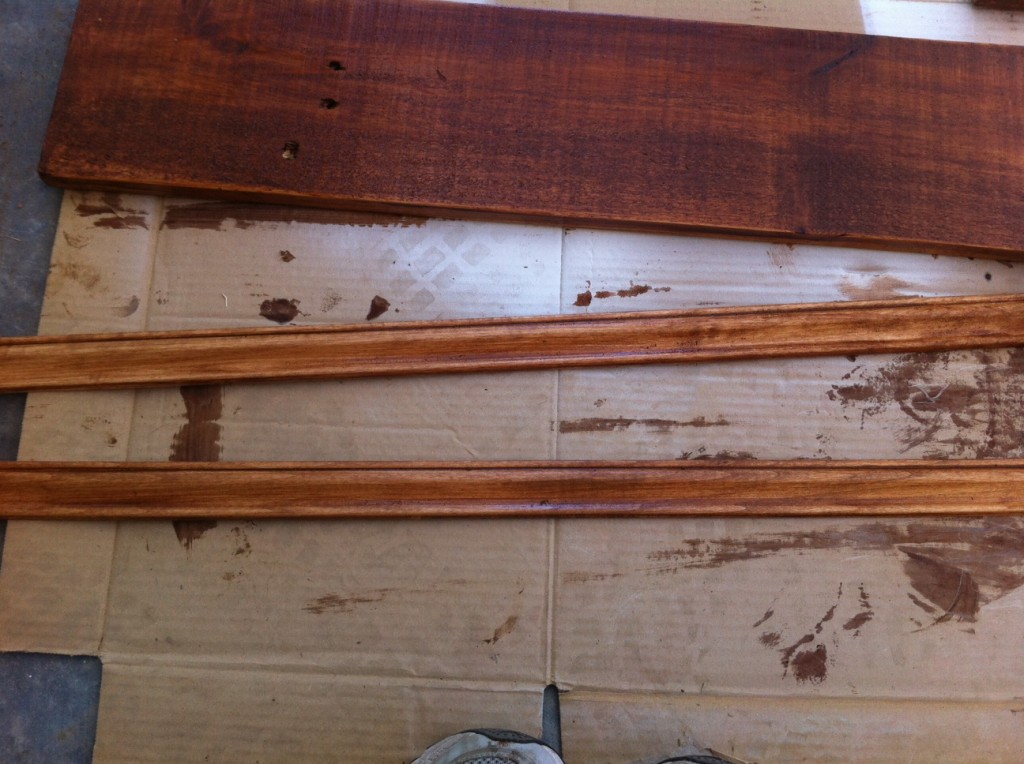
We took those pieces and stained them the same way as the wood.
A while later we put on a second coat.
Then it needed time to dry. At this point we were in desperate need of food and beer.
Mmmmm…. that’s better. When we got home we were ready to finish the job!
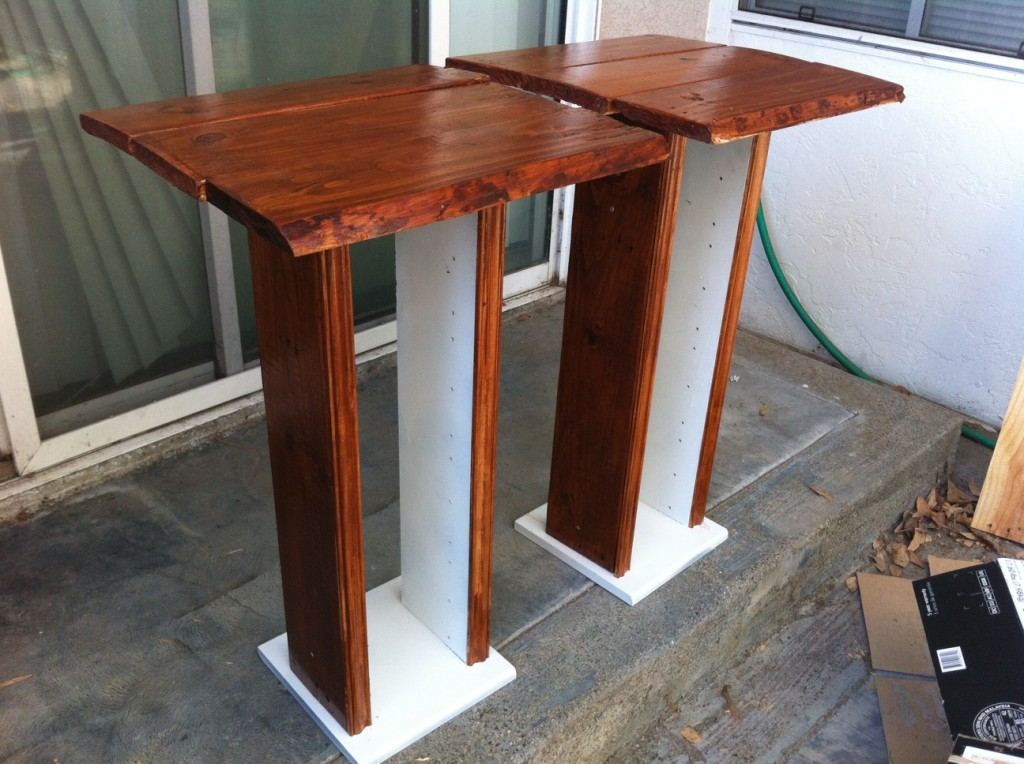
First we screwed on the sides.
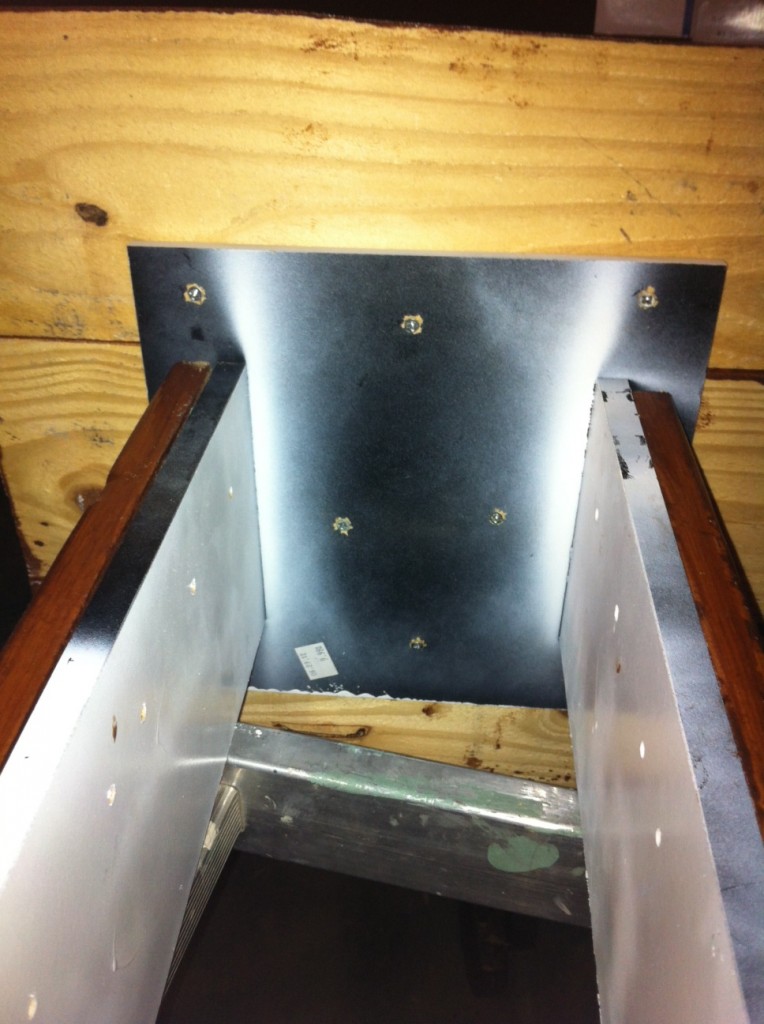
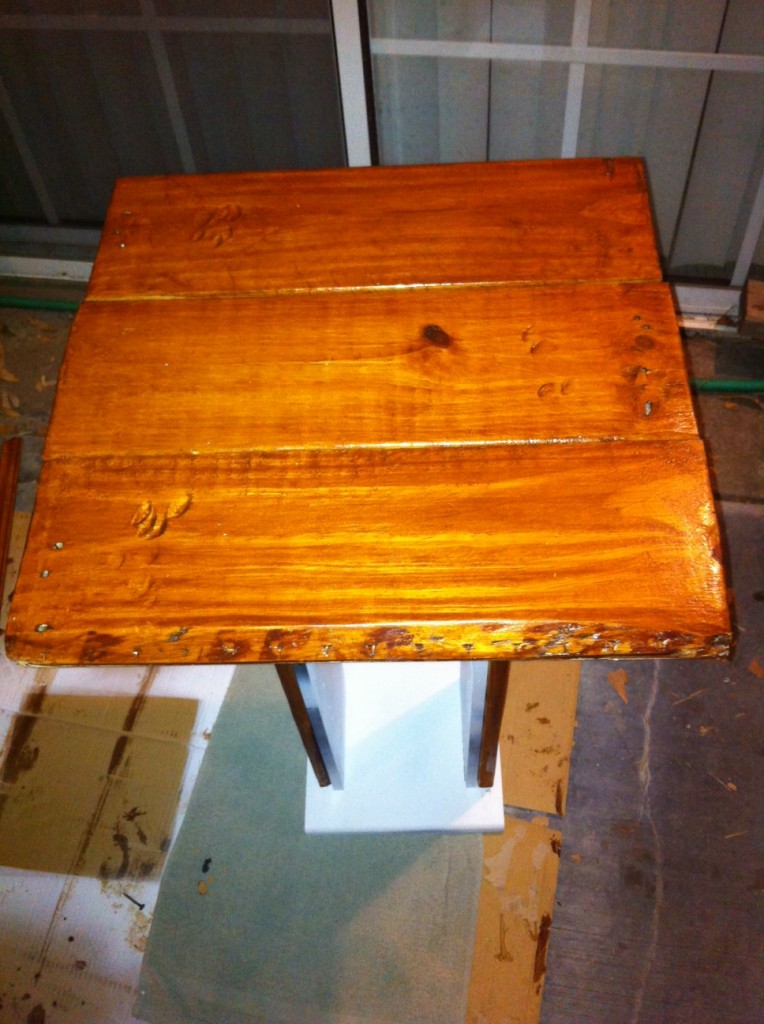
Then for the top we first screwed in the middle piece. We wanted no screws to be visible, so we screwed them in from the bottom.
The last step was adding the molding to the front. We just used gorilla glue for this and let it sit over night.
Then we went to sleep… and when we woke up the next morning….
We really loved the way these turned out. For just one day of work and we made something pretty beautiful, and we had fun while doing it!

