Pallet Headboard
on May 28, 2012, Updated Mar 17, 2024
We are participant in the Amazon Services LLC Associates Program, an affiliate advertising program designed to provide a means for us to earn fees by linking to Amazon.com and affiliated sites. Please see my disclosure policy.
As spring has sprung and summer is approaching, the sun and warm weather make me a very happy girl. Not to mention that tomorrow is a very special anniversary for me and a boy I really like! Isn’t love a wonderful thing? I adore love stories and hearing about how people get together. Want to hear one? No, not about me, but about my sister. My dad tells this story to random women in the paint department of Home Depot, so I might as well share it with the world.
I have two older sisters and they are both THE BOMB. Like really awesome people.
Moving on. One of my sisters met a boy at a wedding last summer in Colorado, where she was living at the time. They met, danced, and had a great night together. But he lived in Montana. So for the next few months they talked on the phone and the next thing you know they were spending Thanksgiving with his family and Christmas with our family. We met him, and we loved him! A few months later she moved to Montana!
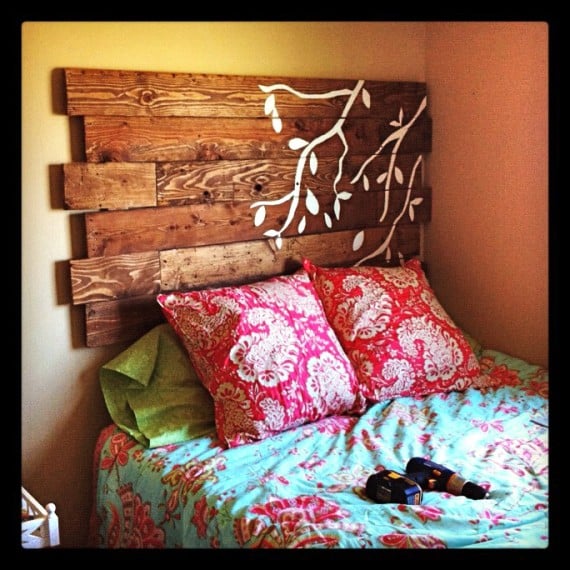
So, like any good family, my mom and I jumped on a plane and headed up to the big sky country to help her decorate her room. For the whole month before, we were dedicated to pinning ideas for her room, and insisted that my mom, sisters and I to make a special board for the occasion. We decided the focal point of the room would be a pallet headboard!
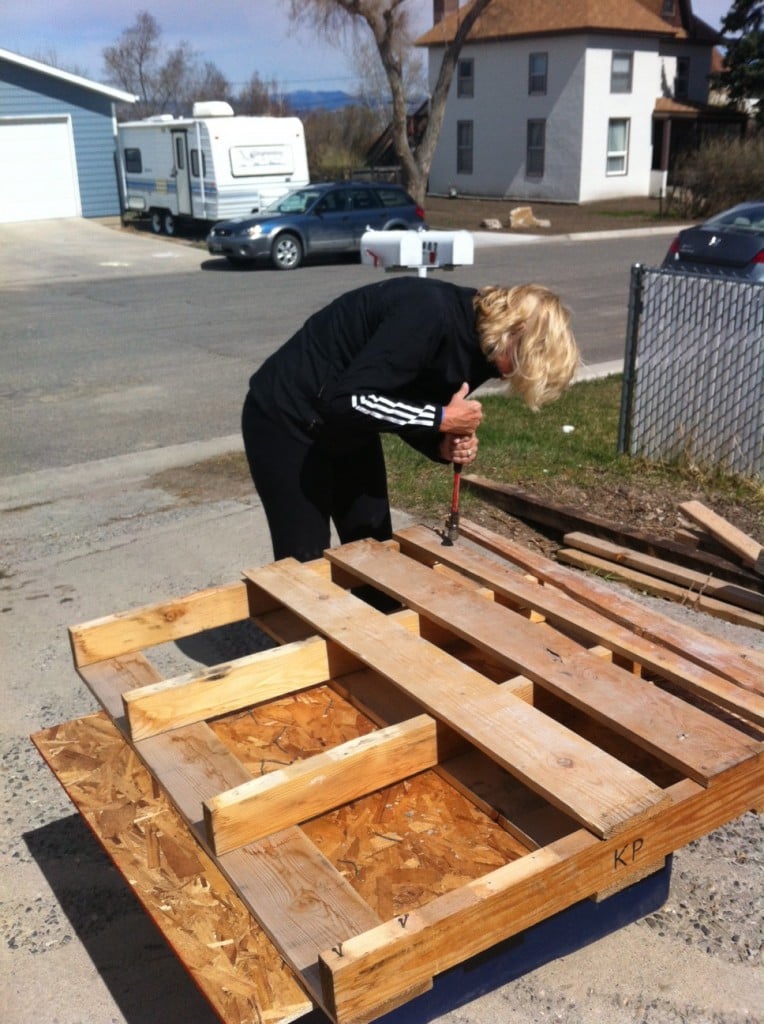
The process was relatively simple if you have the right tools and the right group of gals, or guys, to help out. We started by pulling apart a pallet.
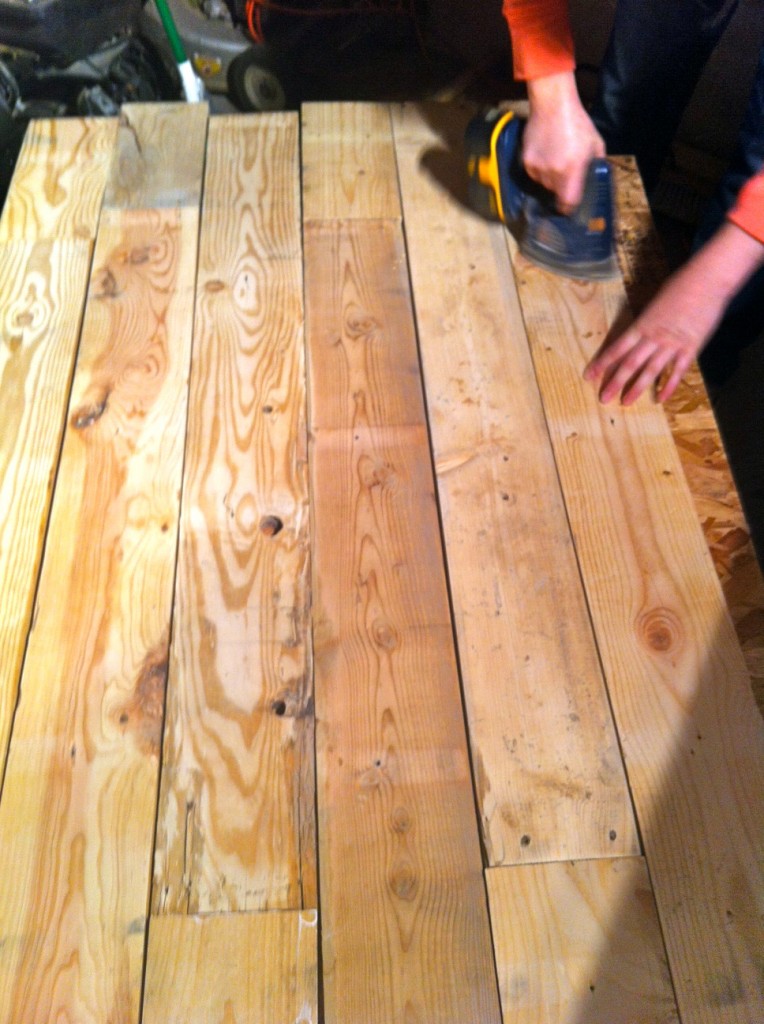
Thats my mom!! Hi mom!!! We had to take turns with this because those nails can be tricky to pull out. Once we got all of thee pieces we needed, we had to determine how high and how wide we wanted it to be. Once we knew we wanted it to be 5 feet wide, and the pallet pieces were 4 feet long, we knew we had to cut a couple pieces into 4, 1 foot pieces. Once all of the logistics were figured out, we used an electric hand sander to get the wood nice and smooth.
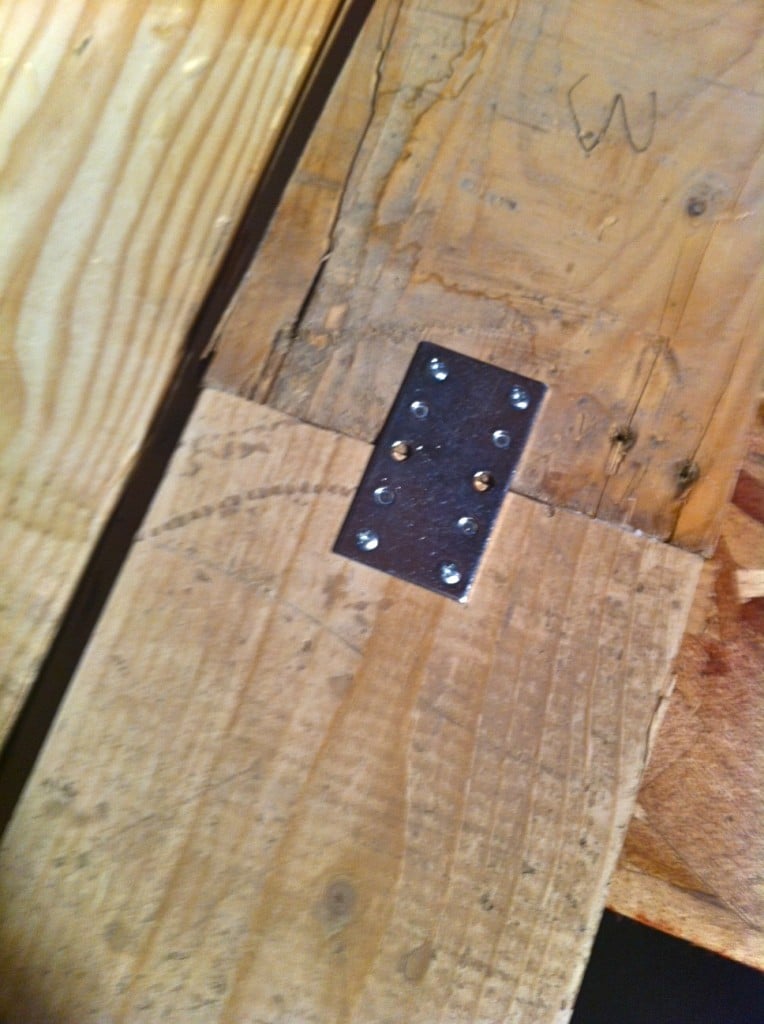
On the ends of the pieces we attached a bracket to hold to 2 pieces together.
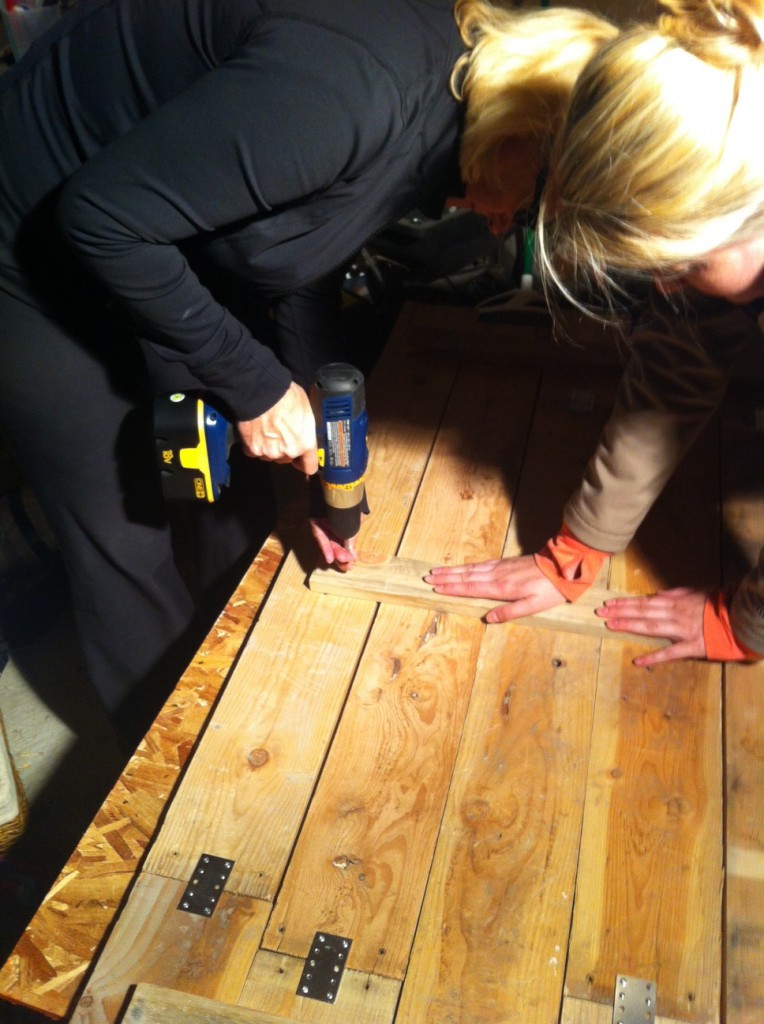
Next we lined up the wood how we wanted it to look and flipped it all over. We took 3 spare pieces of wood and screwed them into the back to keep everything together. We also used gorilla glue as an extra precaution.
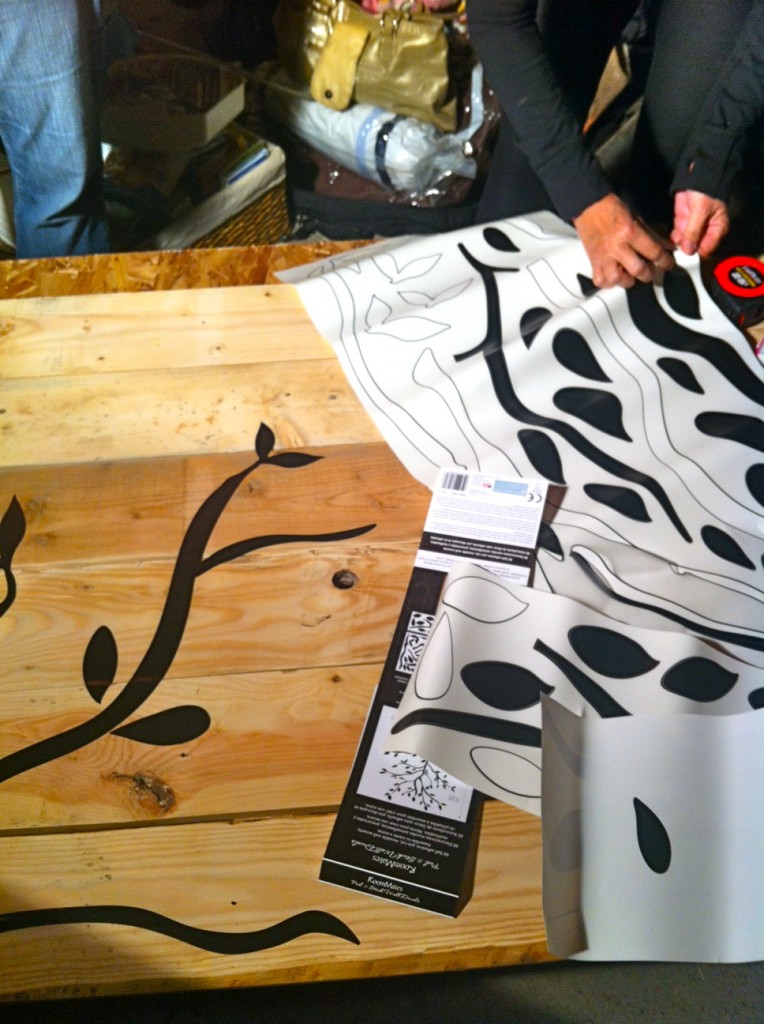
We also knew we wanted a design on the wood so we bought a wall decal at Target, and put together branches of a tree on the wood.
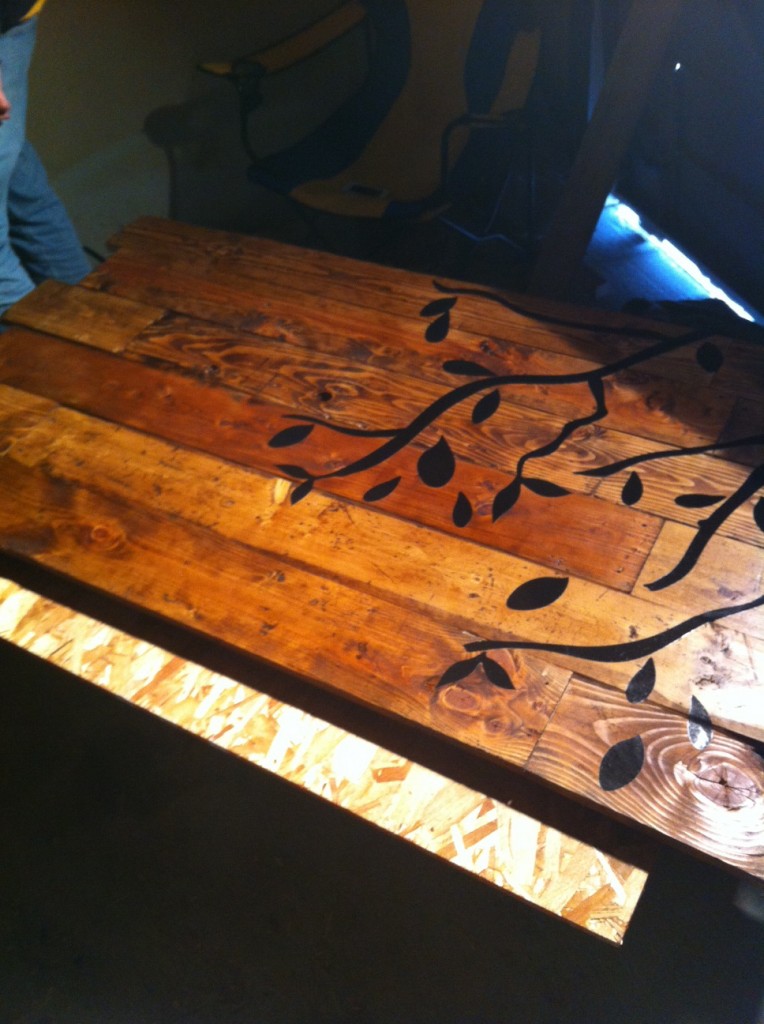
Then we used a stain my sister picked out, and let it dry!
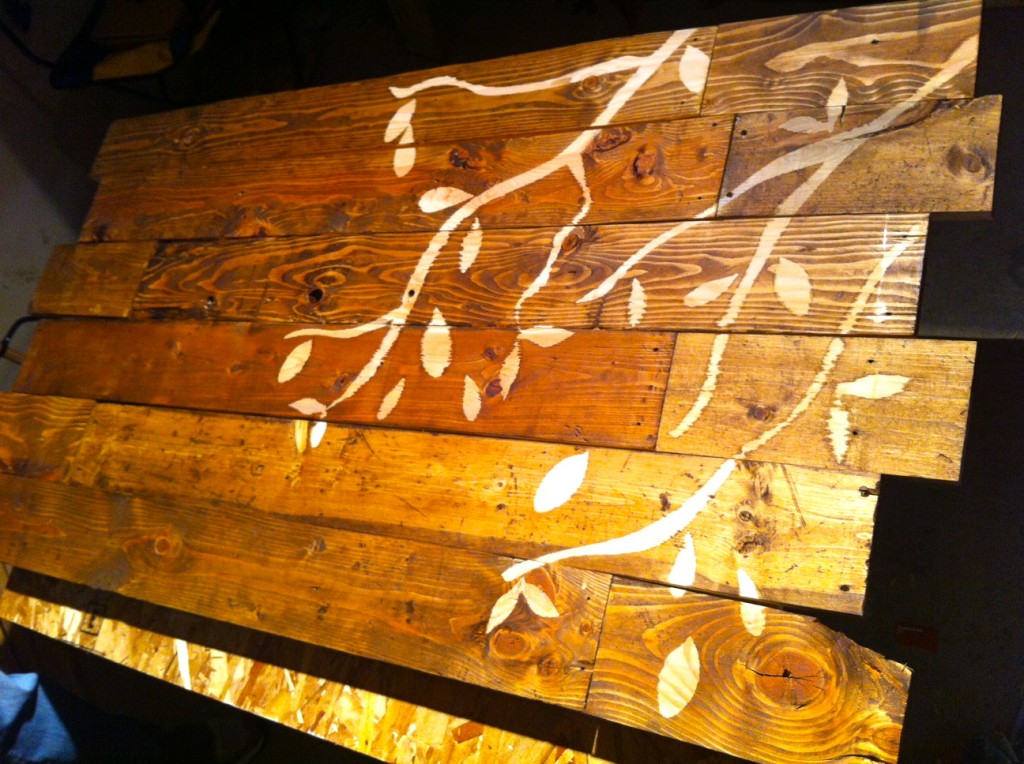
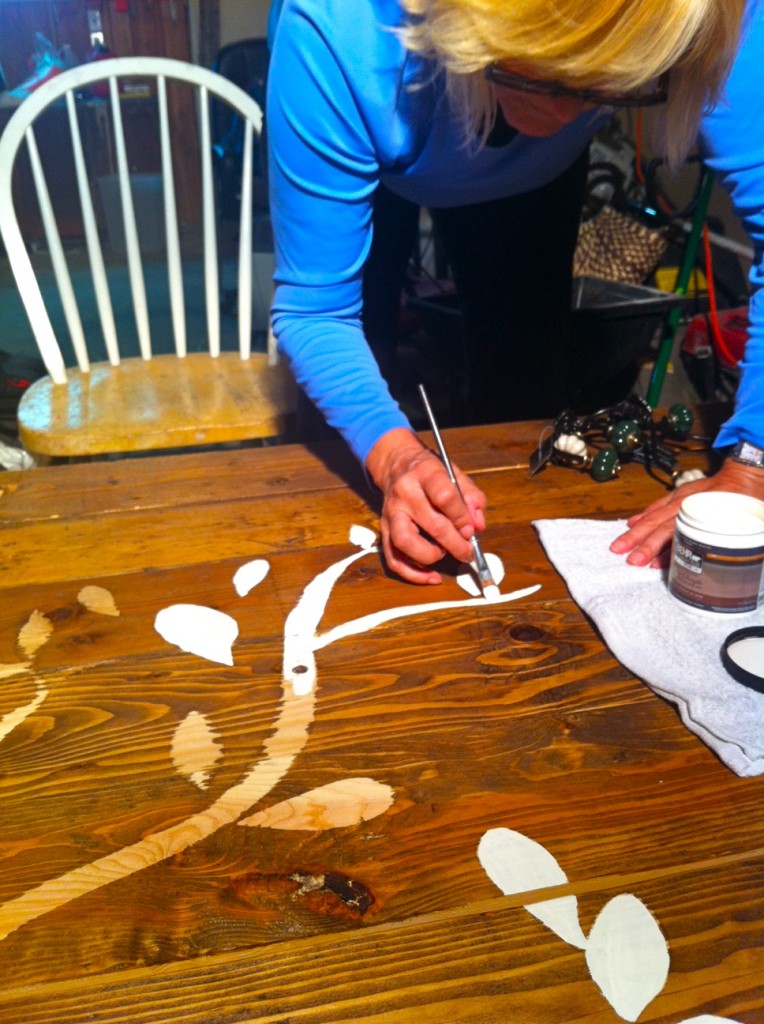
We thought going in that we could do it this way, then take the decal off and the branches would just be unstained. But, like any project, things didn’t work as we planned.
The stain bled through and the lines of the branches were not as defined as we had hoped. But, that is why someone invented paint!
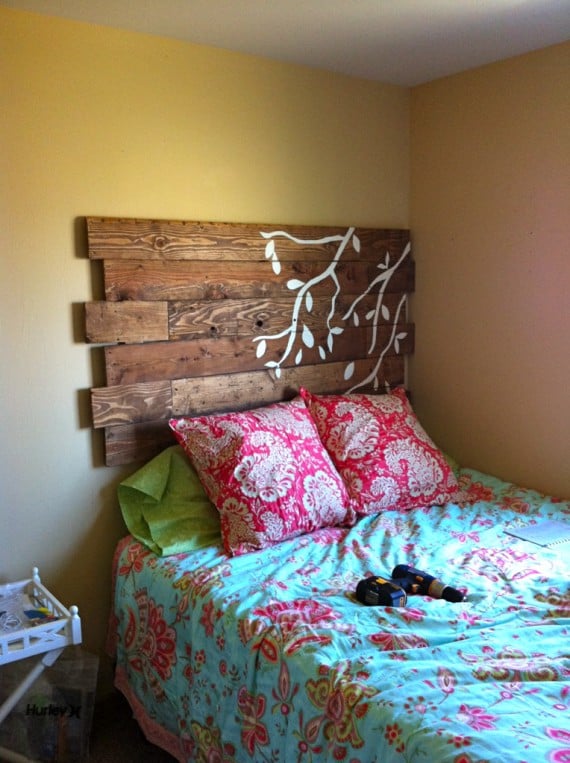
After a simple task of painting inside the lines, we were finished! An easy, and inexpensive way to add a rustic and cute look to any bedroom! Note: Bedding is by Amy Butler!




Well written article. People should read this.
Excellent blog. That’s exactly what I was looking for.
Bookmarked! I love your blog!!! Do you mind if I share this on my Twitter page?
Really good blog. Highly recommended.
VEry inspired. We are making a version of this for our living room wall. The pallets are built and now I’m going to start painting. 🙂 Thanks!
I love this headboard, very well done. I especially love the power drill in the last pic, it’s a must have for every girly bedroom. 😉
What a great use of wall decals! We’ve toyed around with the idea of using them as stencils, but I’ve never seen such detailed photos and info on the process. The end result looks fantastic! So glad I came upon this post. 🙂
— Nicole @ RoomMates
Beautifully done and inspiring. And ya, with the AB bedding set, just gorgeous. Have just ordered the set! Now it’s time to find a pallet.
Hi Kelsey, LOVE your headboard! You may want to get one of Lee Valley Tools “Cat’s Paws” to pry those pallets apart before next time. I was just using mine tonight (we’re building a shelving unit out of reclaimed pallets: ) These are – there are several types and sizes of each – truly AWESOME tools: )
https://www.leevalley.com
I was wondering how many pallets it took to complete your headboard?
Thanks!
-CH
Hi Caroline! It took 2 pallets! It really just depends on how big you want it to be.